Course Menu – Ultra
Course Menu – Ultra
Ultra view
This is the new version of Blackboard. It has a different environment than the original, so some of the previous actions such as Create Content are accessed differently.
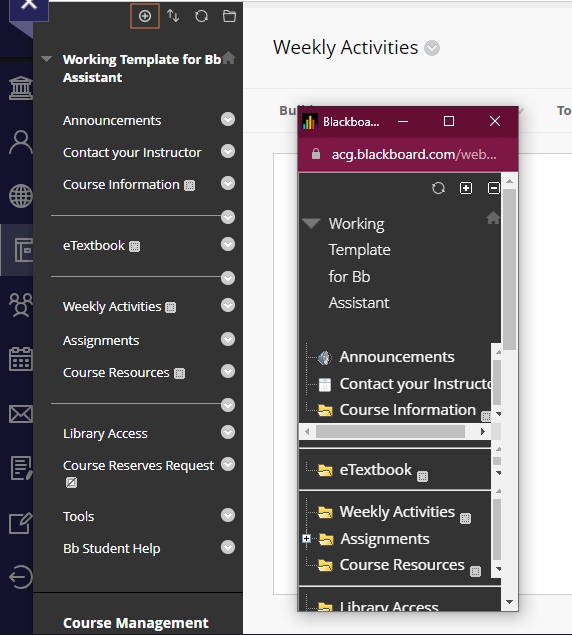
There are detailed instructions regarding how to add content area, tests, assignments and everything you need. It is also supported to Auto-Generate Modules and Upload or Copy Content. You can access them through the drop-down menu from the plus button.
The visibility of the content for the students it is accessed through a drop-down menu below the name of the content.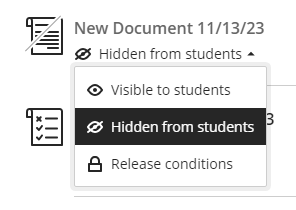
Original View
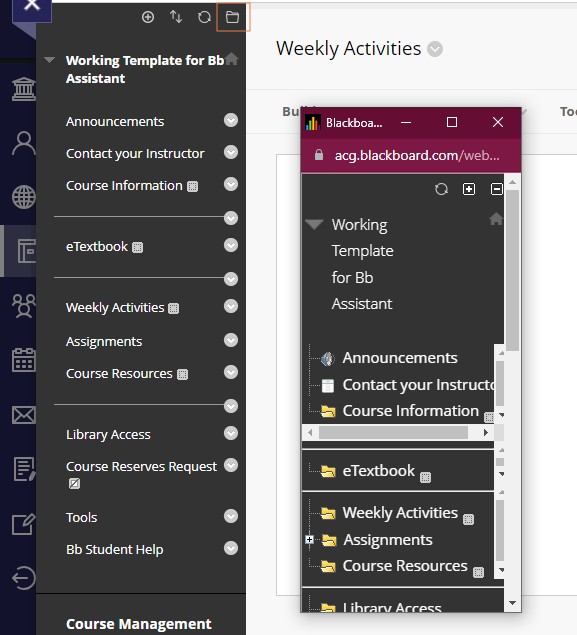
Various settings such as Folder View, allow you to easily and effectively navigate your course. Click the folder button located at the top-right part of your course menu to reveal a new window with the contents of your course menu with the Folder View.
Customize your course menu
To adjust the course menu according to your teaching needs, Rename, Hide, and Delete a link, by clicking the small arrow button (contextual menu) and selecting the desired choice.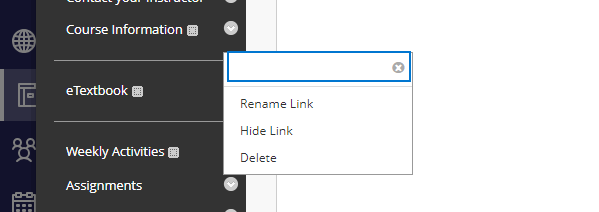
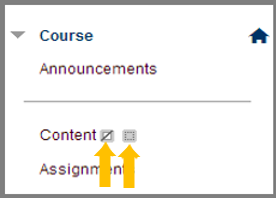
In case the Content Area is unavailable and “hidden” from students, an icon of a square with a line through appears.
If the Content Area is empty of content a square icon appears.
Click here for more instructions.
Drag and drop a menu item from the double arrow button showing up when you roll over with your mouse pointer to change its position in the course menu.
How to add a menu item
To add a new area, click on the plus “+” button located at the top-left part of the course menu.
Below find the areas available to be used in forming the course menu. Click on the titles to display their content.
