Gradebook – Ultra
Use your course’s Gradebook page to quickly access its coursework and enrolled students. You can customize the gradebook, search submissions, and upload or download grades.
Access the gradebook
From Courses, open a course. Then select Gradebook at the top of the page.
You can manage items and post grades from two views: the List view and Grade view.
List view
The list view has two tabs: One for gradable items and another tab for students. Select the list view button to access the list view.
Gradable items tab: The Gradable Items tab displays all gradable items in your course. You can view due dates, grading status, and item categories. You can also post grades and adjust the overall grade calculation for the course.
- Items with missing submissions past the due date display in red.
- Use the move button to drag and drop items in a new order.
- Select an item’s name to go to its Submissions or Grades & Participation page.
- Select X to grade to go directly to the assessment’s Submissions page and start grading.
Note: In order to view the overall grade calculation you will have to set up the overall grade of the course. Look at the bottom of the page for more guidance.
Students tab: The Students tab lists the names of all your students with their dates of last access and their overall grades.
- You can directly message students from the Students tab.
- Search for particular students by name, username, or student ID.
- Select a student’s name to go to their overview.
Grid view
Select the grid view button to access the grid view.
The grid view displays each student’s grade for a specific assignment, with one student per row and one gradable item per column. Use the arrow buttons to sort columns into ascending or descending order.
In the grid, you can select a student’s gradable item to open a menu with these options:
- View — Go directly to the assignment submission and start grading.
- Feedback — Enter feedback for overridden test/assignment grades and automatic zeros.
- Post — Post a grade that’s been assigned but not yet posted.
- Add or edit exceptions — If an assignment is timed or has a due date, you can add exceptions here, as well as allow multiple attempts.
- Add or edit exemptions — You can remove an assignment from being counted towards a student’s overall grade.
The student grid contains color-coded text:
- Green — Posted grades
- Red — Automatic zeros
- Purple — New submissions
For a more efficient grading experience, you can customize the grid view:
- Use sort options on each gradable item’s column to view the information ascending or descending order.
- With the Filter button, you can narrow the information displayed in the grid to exactly what you need: Students, Groups, Gradable items, Assessment type, or Categories.
When you select the gradebook at your course you are needed to set up the overall grade system, in order for the grades to be calculated according to your institution standards.
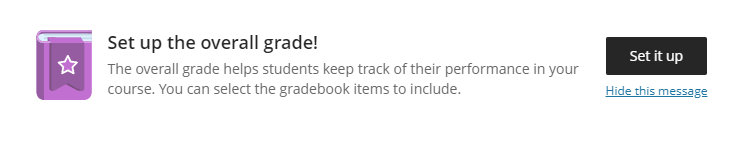
At the bottom of the page you will find the following message. You will click the “Set it up” button for the set up to begin.
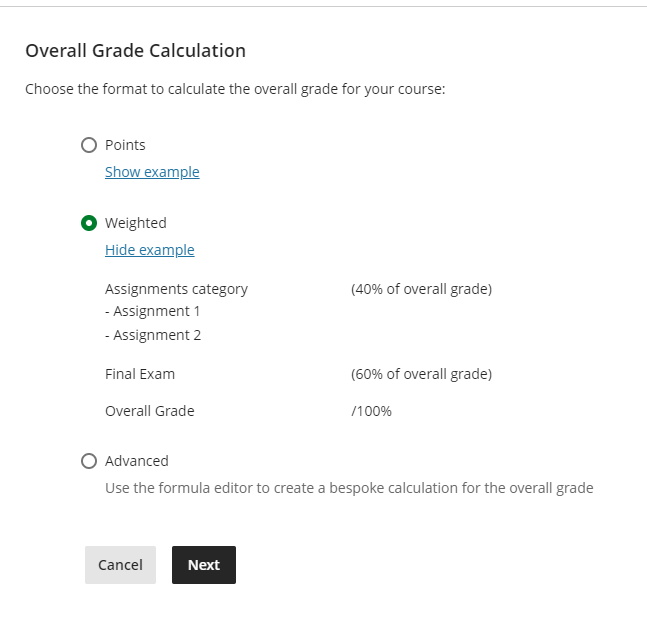
In order to set up the calculations you will need to select which grade system you will like to continue with. There are three options:
- Points
- Weighted
- Advanced
We suggest you to select the “Weighted” option to calculate the grades, due to the fact that it calculates the overall grade with percentages of the assignments given by you. – Look the following picture for an example.
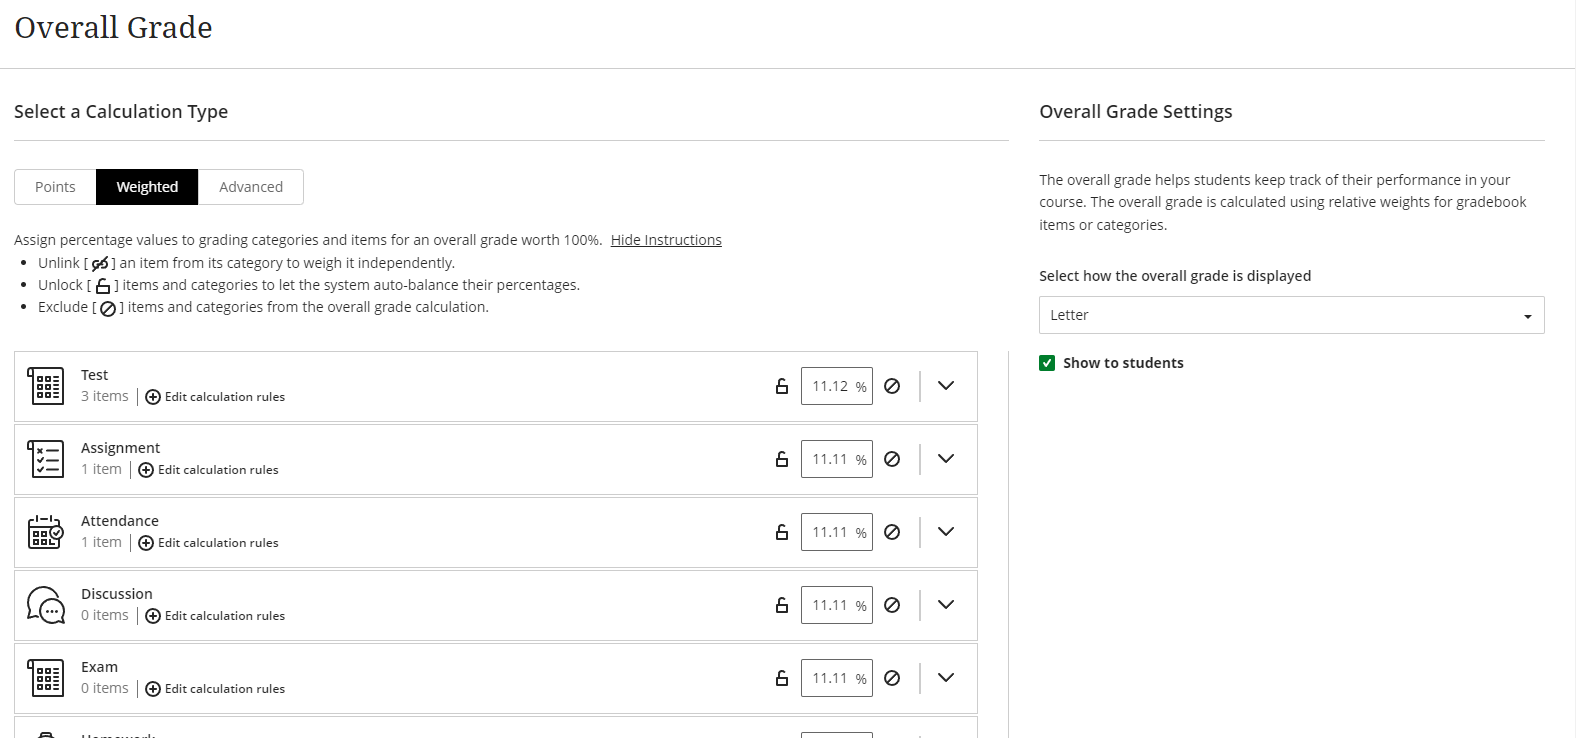
Next step is to assign percentage values to grading categories and items for an overall grade worth 100%.
- Unlink an item from its category to weigh it independently.
- Unlock items and categories to let the system auto-balance their percentages.
- Exclude items and categories from the overall grade calculation.